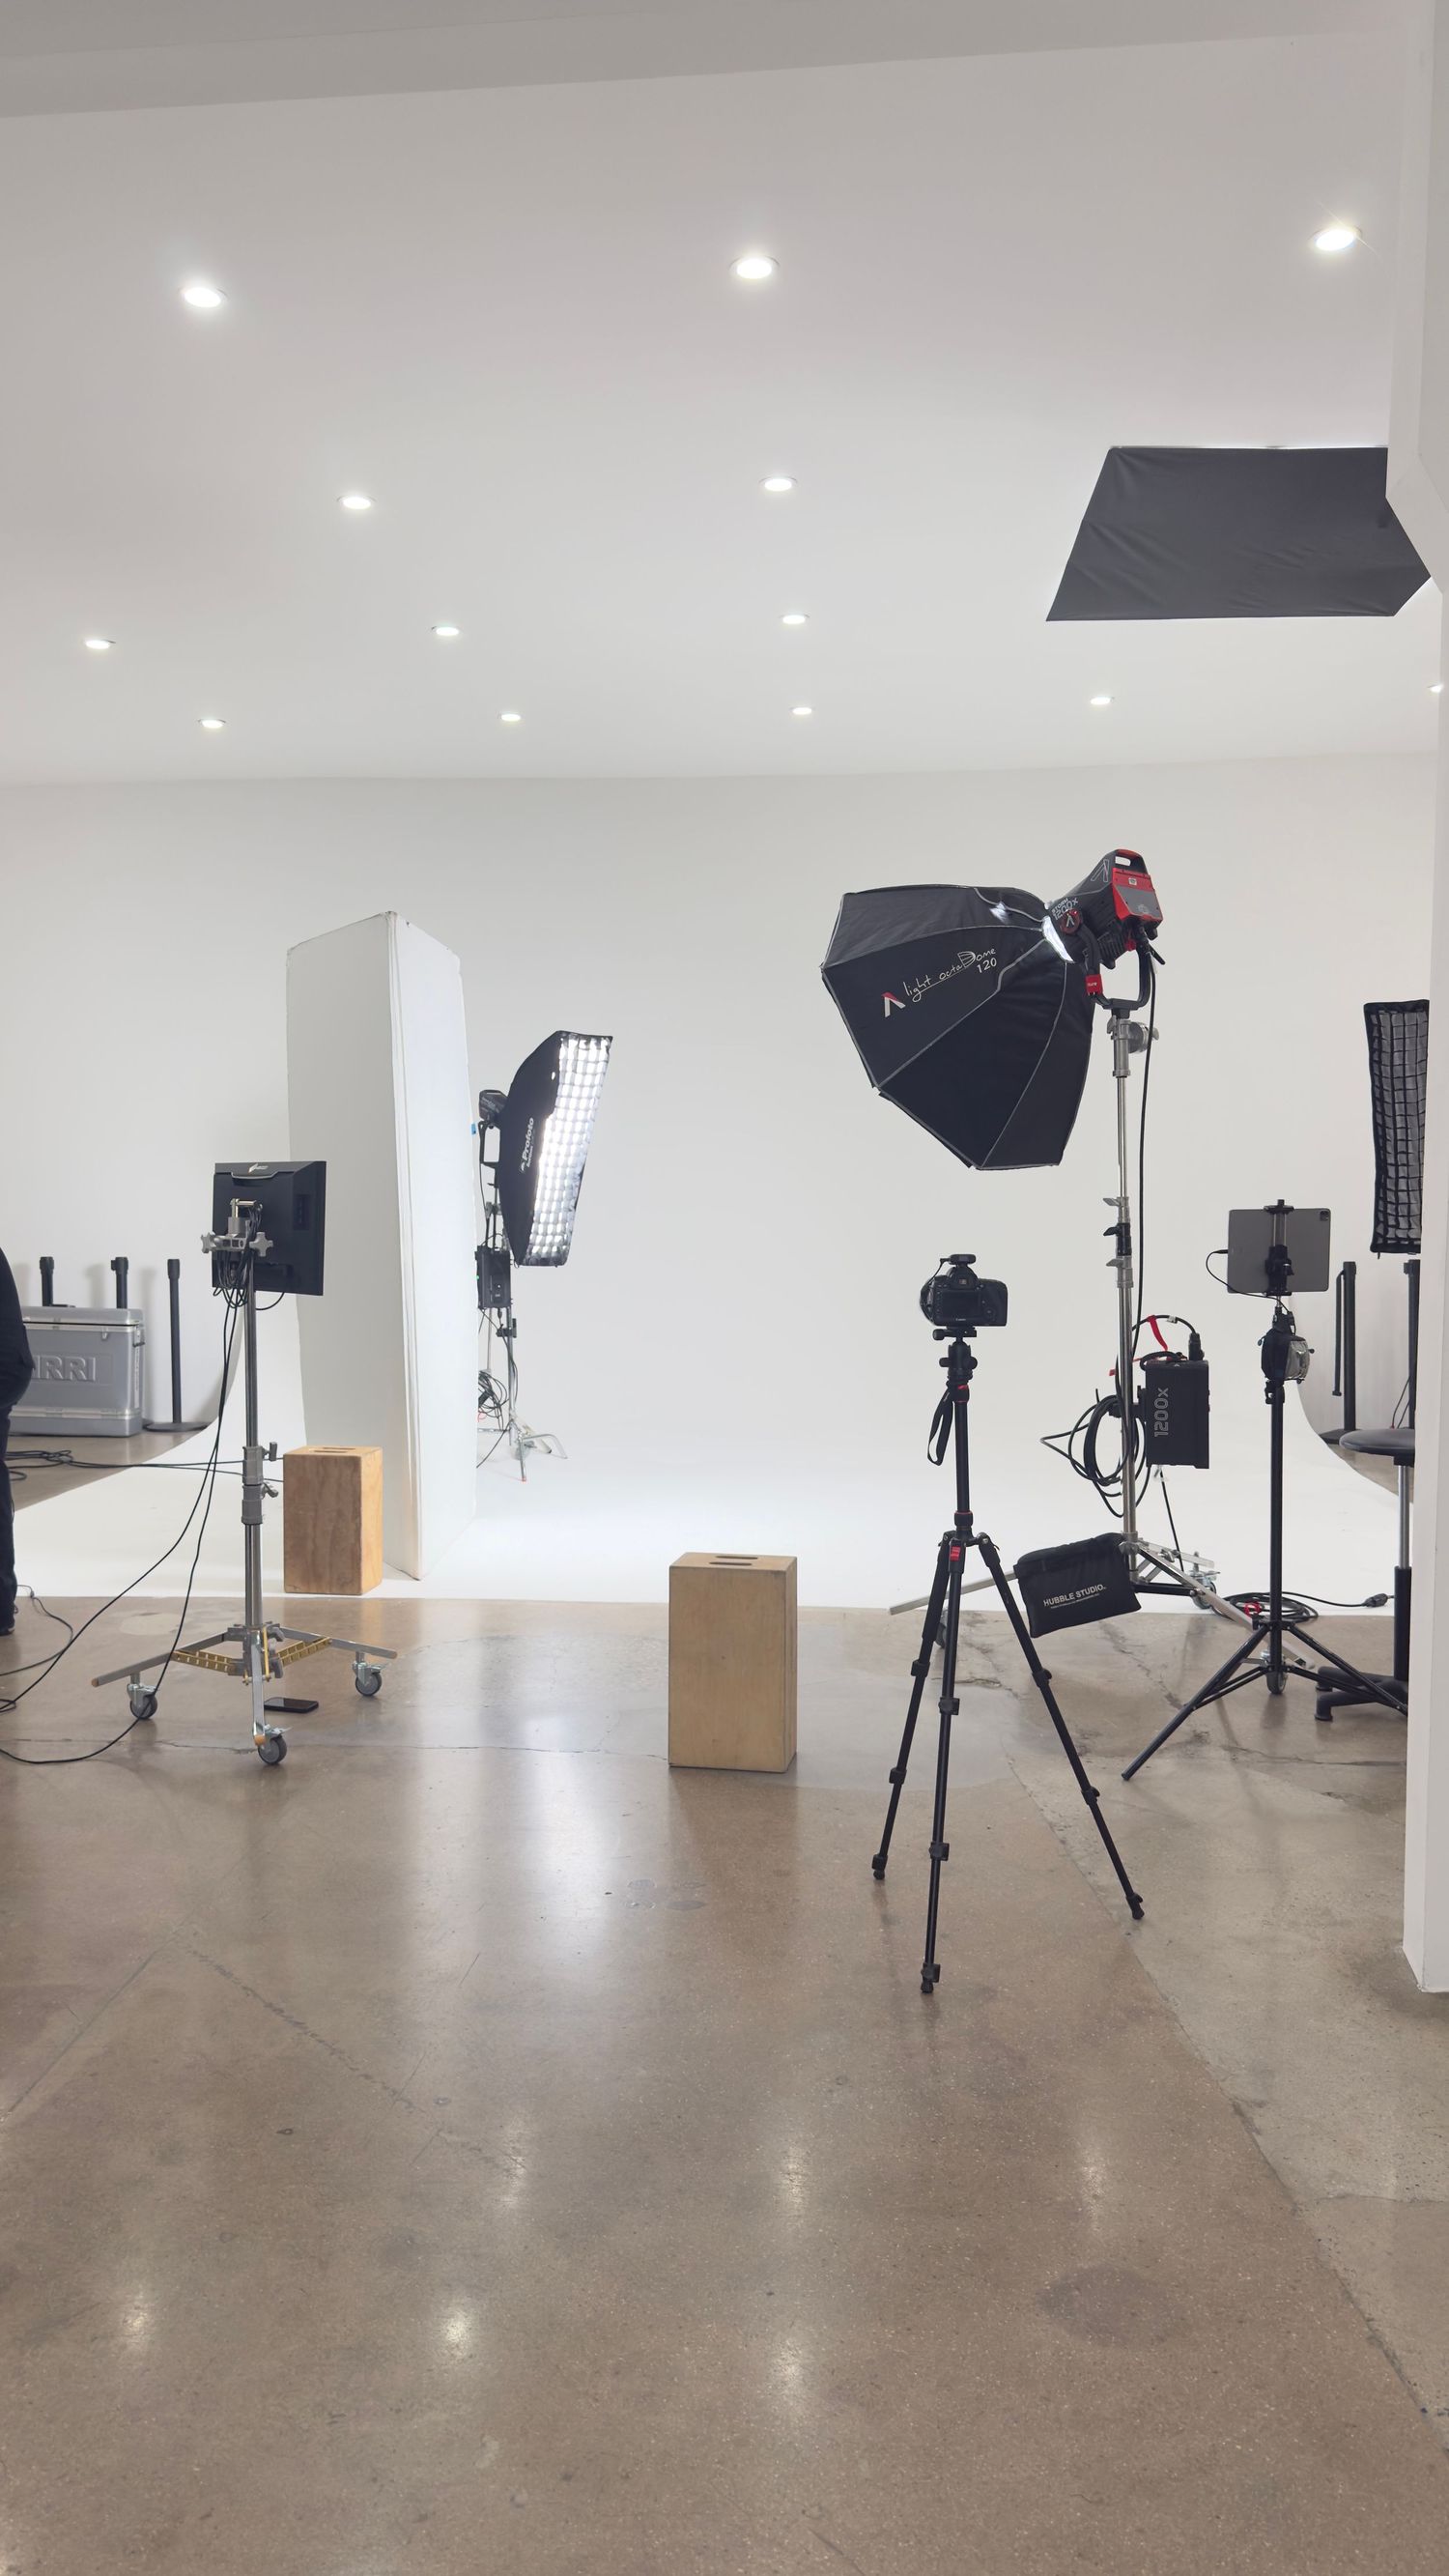
You’ve finished your modelling digital session, the lighting was perfect, and your photos are completely raw, clean, and unedited. But having a folder full of raw photos on your phone or laptop won't get you signed by an agency on its own.
What you do after your shoot is just as important as the shoot itself. From what to wear, choosing the right frames to submitting them to top scouting agents, here is exactly what to do with your fresh modeling digitals to jumpstart your career.
1. Curate Your Final Selection
Agencies do not want to sort through 50 slightly different variations of the same pose. They want a concise, high-impact package. Select exactly 4 to 6 photos that represent your absolute best angles:
- The Headshot: One smiling, one neutral. Clean facial structure, eyes focused on the lens.
- The Profile: One left side, one right side. Clear jawline, hair pulled tightly back.
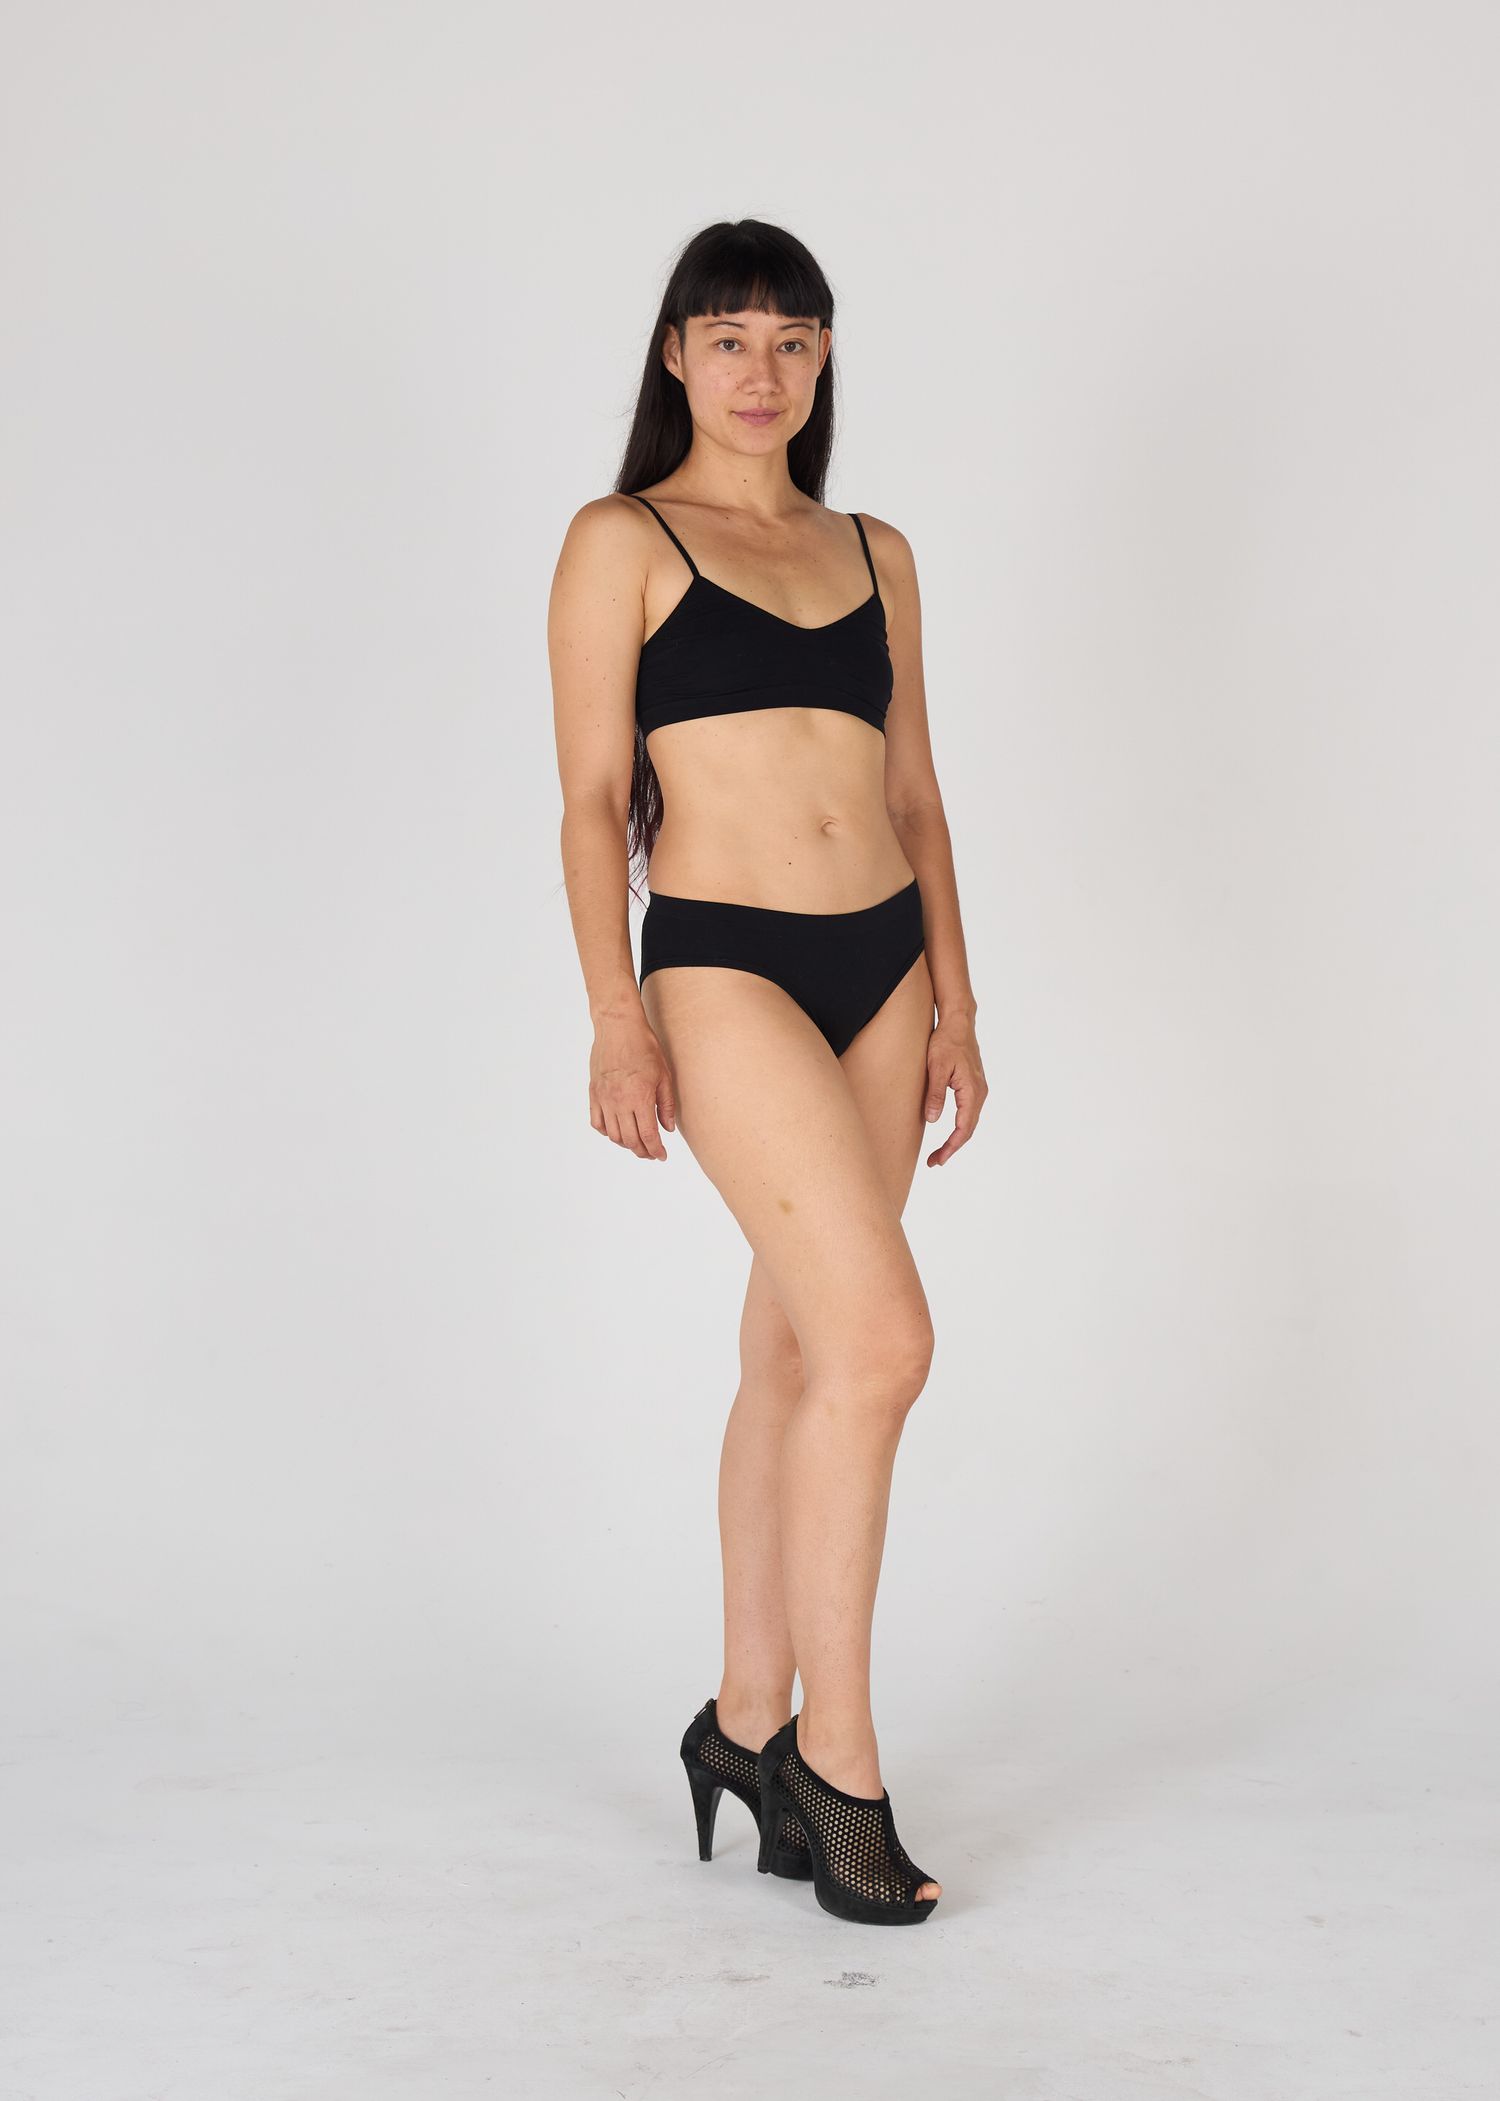
- The Full-Body: One front view, one side view, one back view. Excellent posture, showing clear body proportions.
- The Three-Quarter (3/4) Shot: Shot from the mid-thigh up to capture your frame.
2. Prepare the Files (No Editing Allowed!)
The number one rule of modeling digitals is never edit, filter, or face-tune the images. If an agency catches an edited digital, your application will be immediately rejected. However, you do need to organize them professionally:
- Crop Intentionally: Crop out distracting backgrounds. Keep the framing tight and standard (e.g., standard vertical 4:5 or 2:3 ratios).
- Label Your Files: Do not submit images named IMG_8492.HEIC. Rename every single file to follow a professional industry standard: Firstname_Lastname_Headshot.jpg, Firstname_Lastname_FullBody.jpg.
- Export as JPEGs: High-resolution JPEGs are universally accepted. Keep individual file sizes under 2–3MB so they don't clog up an agency’s email or online portal.
3. Build Your Submission Package
When you submit to an agency, your digitals must be accompanied by your vital statistics. Open a clean document or note file and list your current, accurate measurements:
- Height (in feet/inches and cm)
- Bust / Chest
- Waist
- Hips
- Shoe size
- Contact Information (Email, Phone, Location/City, and Instagram handle)
Tip: Never lie about your measurements. Agencies will measure you in person during a callback, and major discrepancies will cost you the contract.
4. Submit to ModelLing Agencies
Now it's time to get noticed. Look up reputable, verified modelling agencies in major markets (like Los Angeles, New York, London, or Milan) and find their "Become a Model" or "Submissions" tab on their official websites.
- Use the Online Portals: Most major agencies have direct upload forms on their websites. Fill out the forms completely and upload your newly labeled digitals.
- Email Submissions: If they accept email submissions, write a short, professional message. State your name, age (if under 21), location, and measurements. Attach your digitals directly—never send expiring links like WeTransfer or expired Google Drive links.
5. Create a Digital Archive and Update Schedule
Modelling digitals are not a "one-and-done" project. They are a living, breathing representation of what you look like today.
- The 3-Month Rule: Update your digitals every 3 to 6 months.
- The Change Rule: Update your digitals immediately if you change your hair color, get a dramatic haircut, get a new visible tattoo, or if your body measurements shift.
Your digitals are your professional calling card. By organizing them cleanly, labeling them correctly, and sending them out to the right scouts, you turn a simple photo session into an active launchpad for your career.
If you're looking for a photographer based in Los Angeles to get your modelling digitals (either new or to update them), reach out to me via the contact form and we'll go from there.